
Our Projects
Explore our work through project photographs and aligned finish previews. Drag each divider to take a closer look.
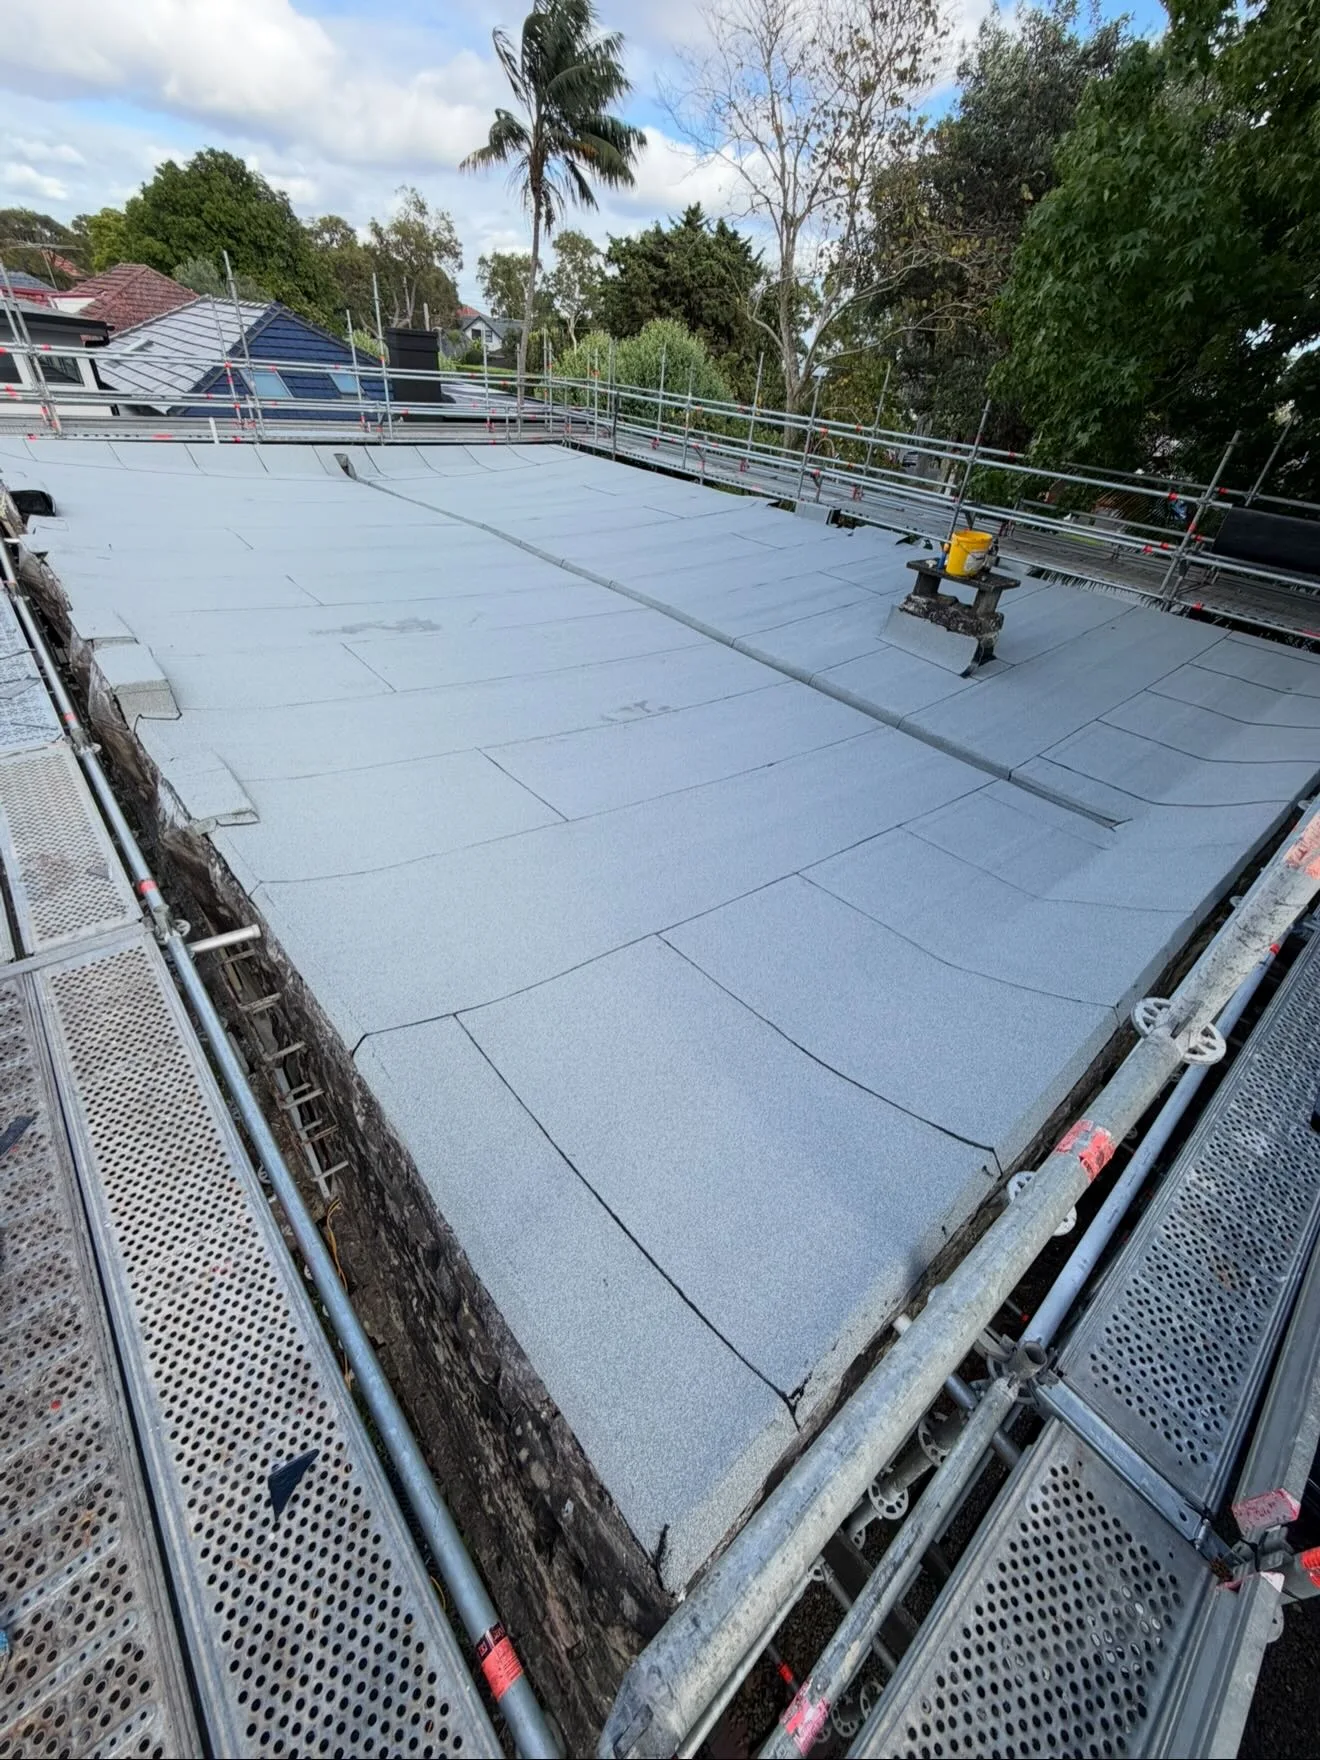
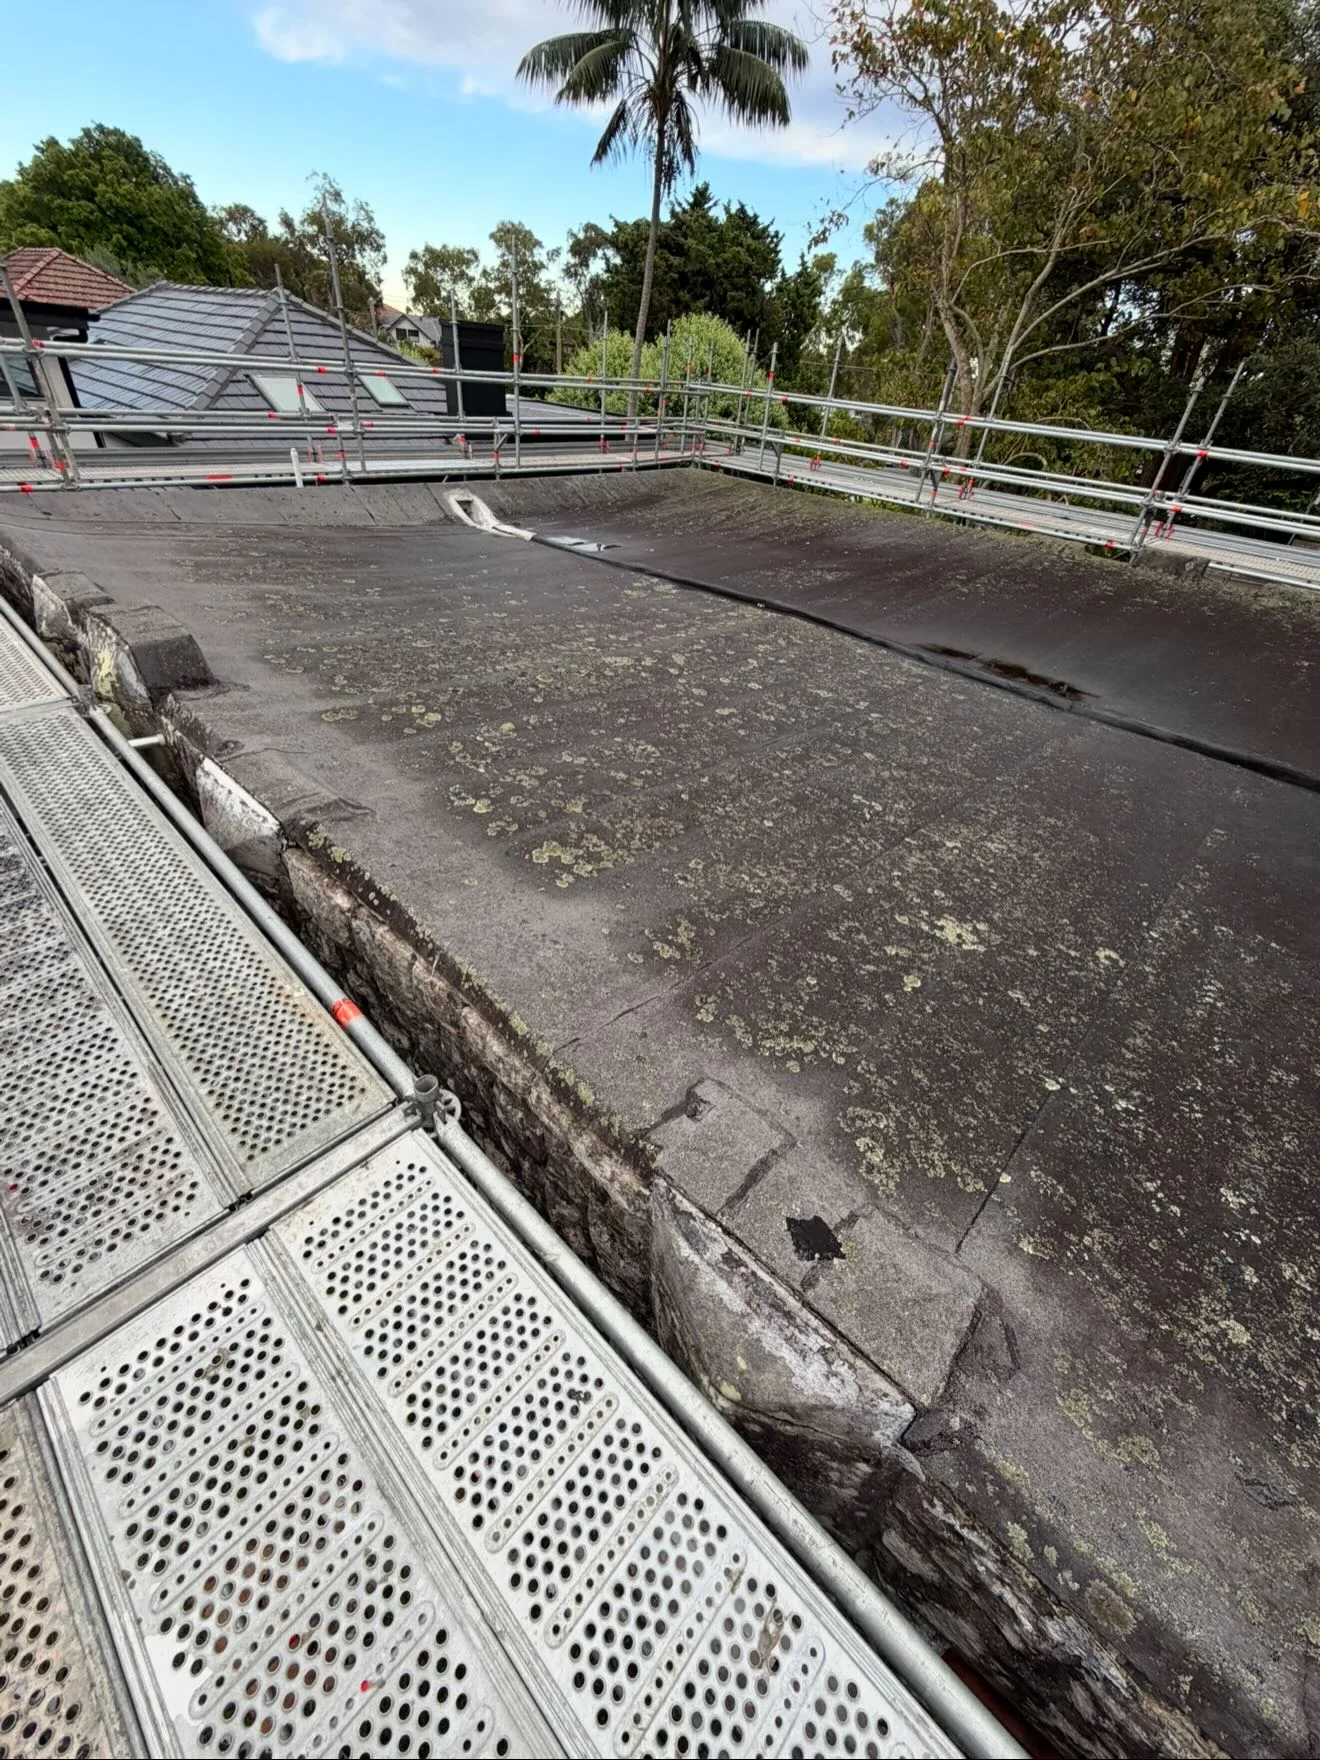
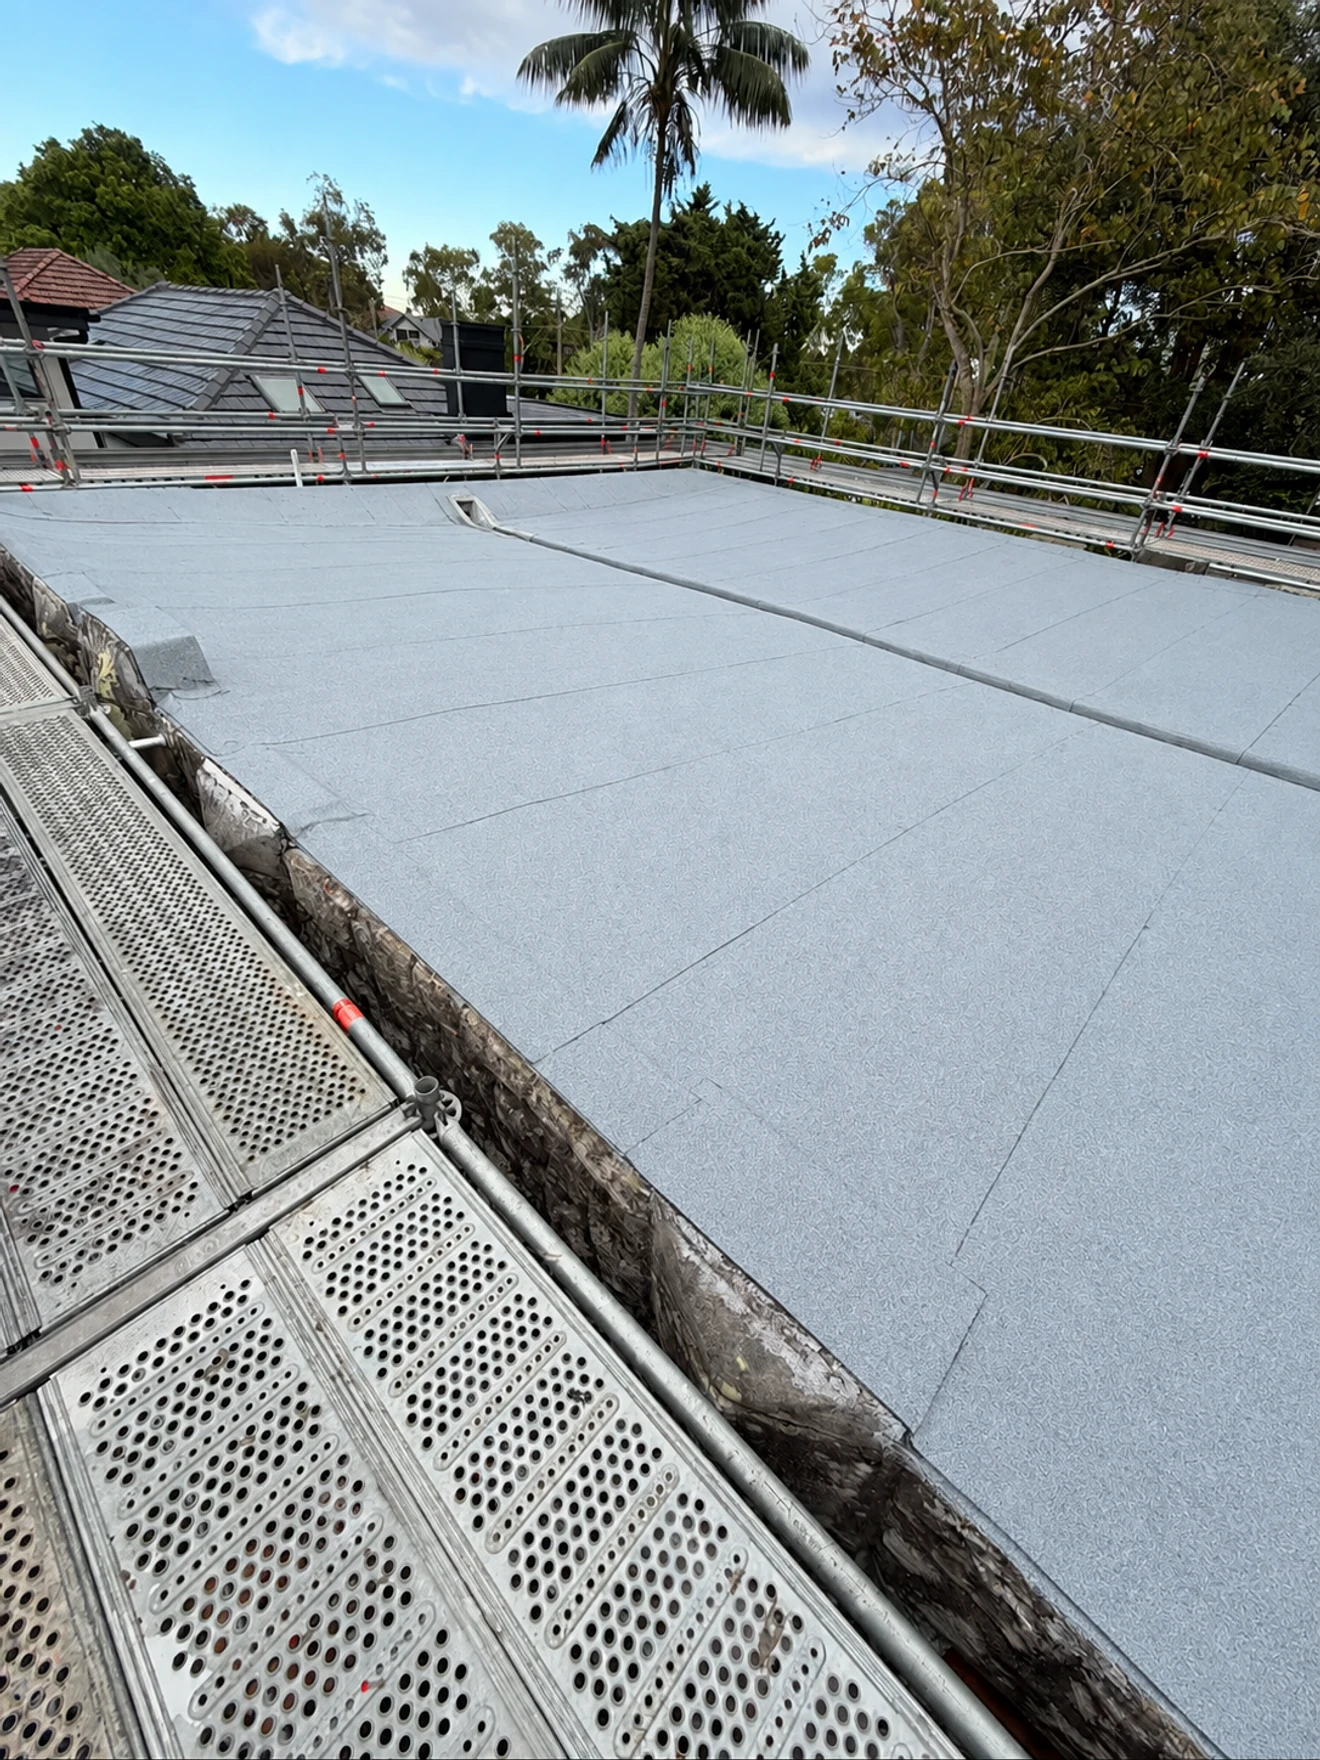
A fresh start for an exposed roof.
An existing membrane removed, the concrete prepared and a new two-layer torch-on system installed. A closer look at the change from the original roof to the completed membrane finish.
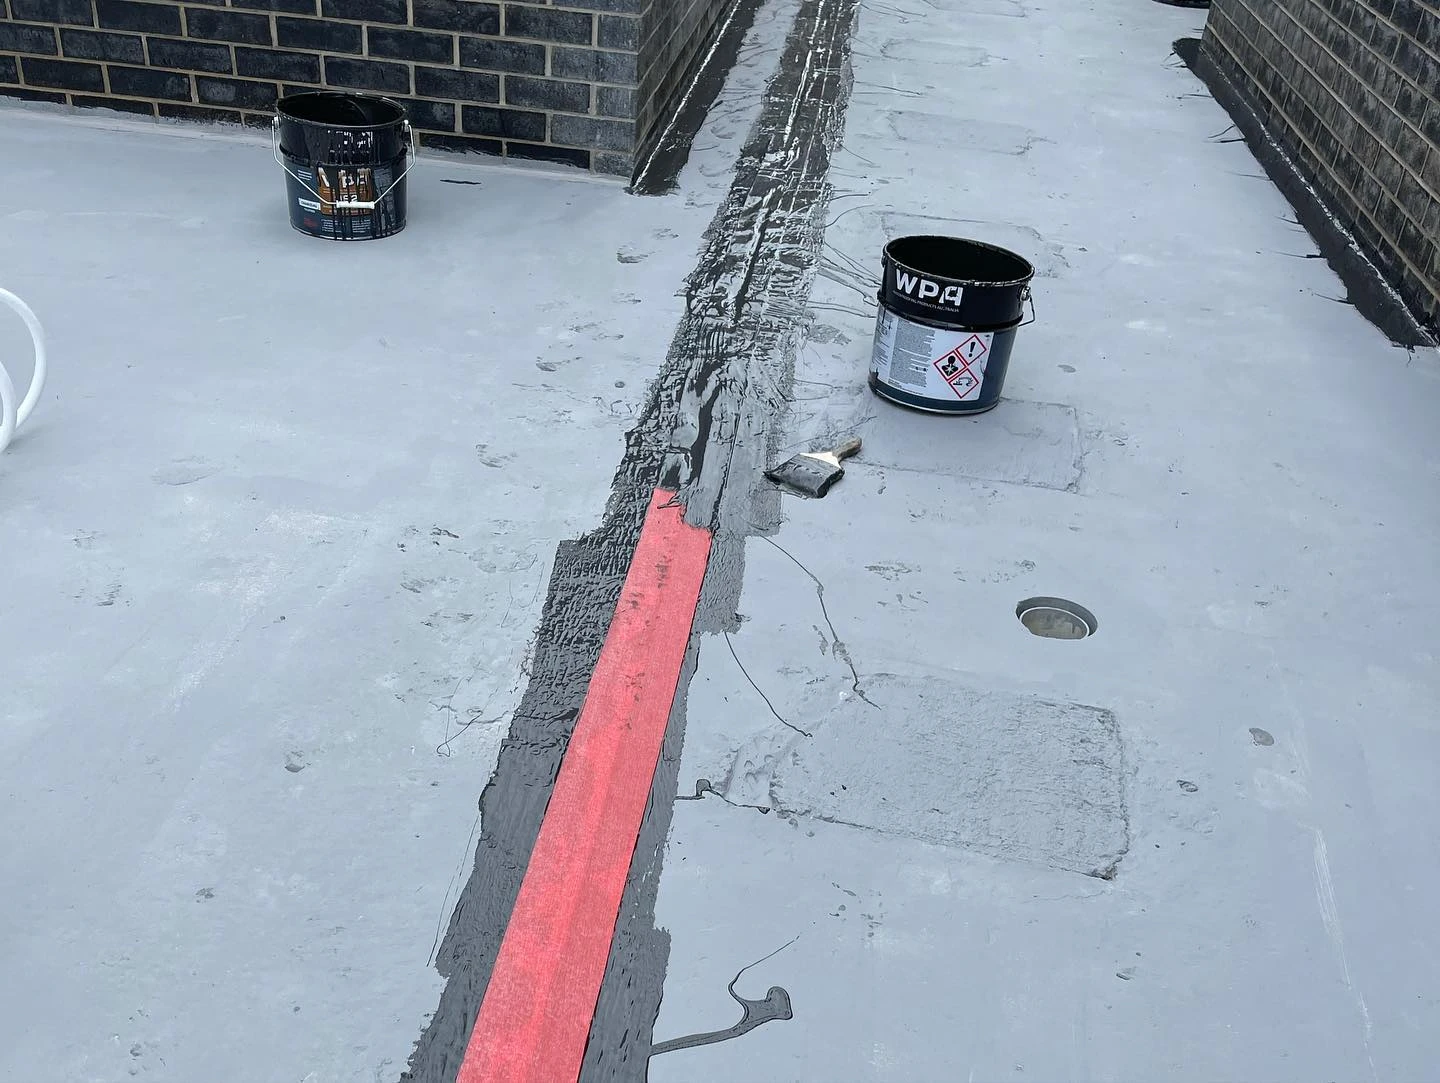
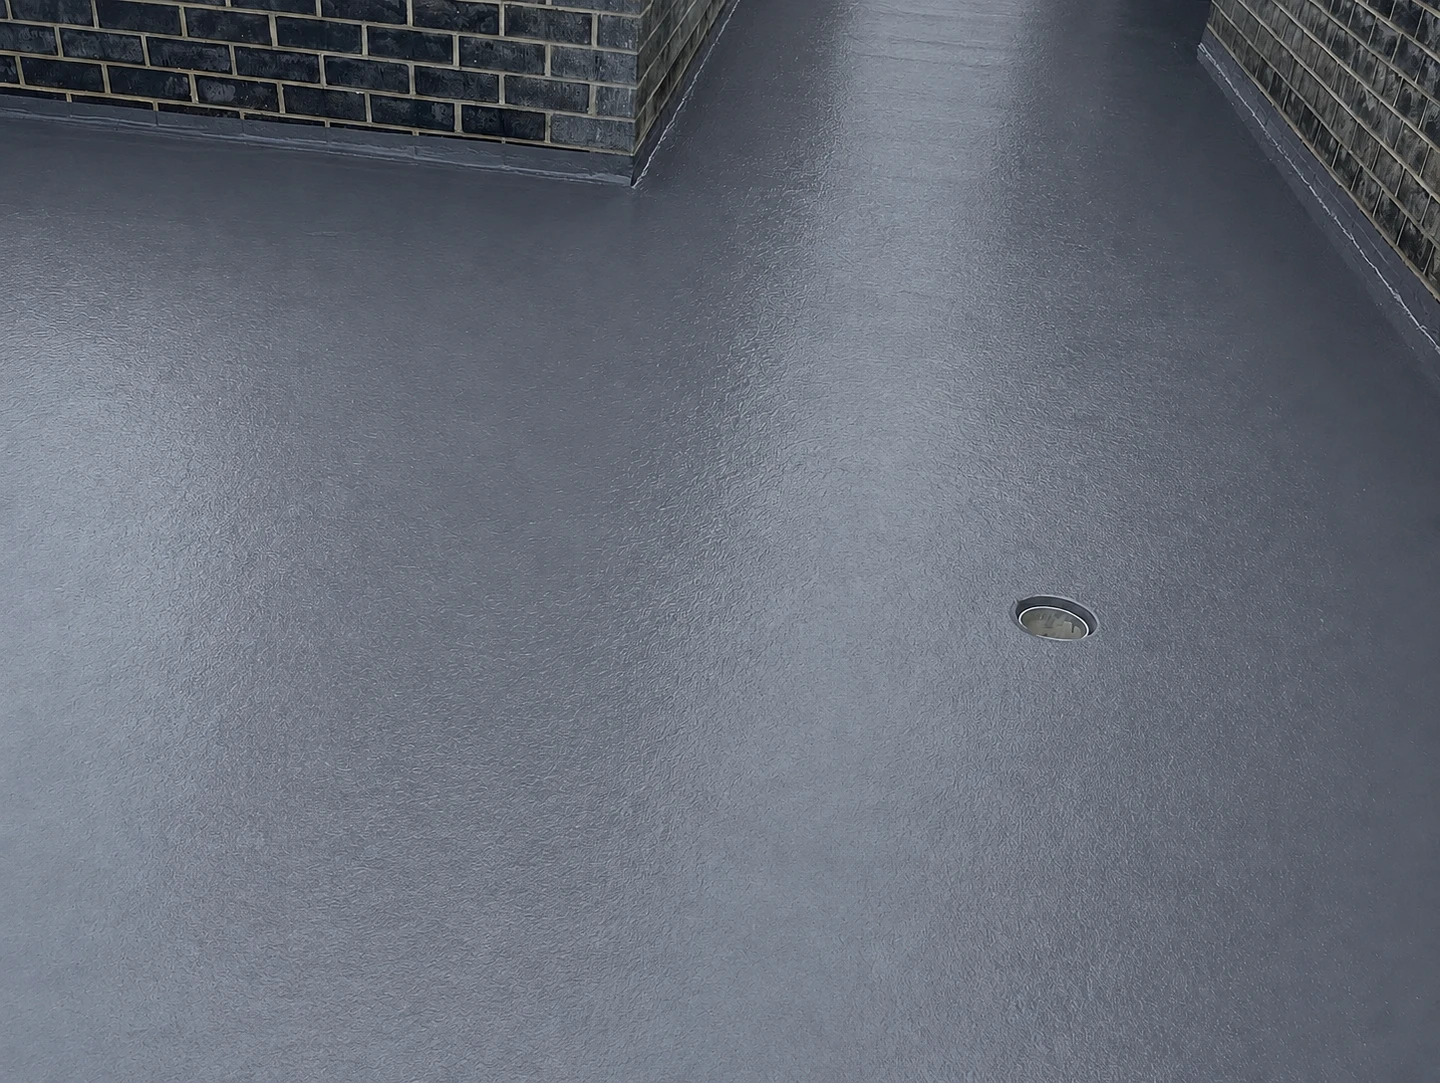
Care at the joint. Protection across the surface.
A construction joint between two slabs prepared with sealant and reinforcing band, followed by two coats of polyurethane membrane across the common area.
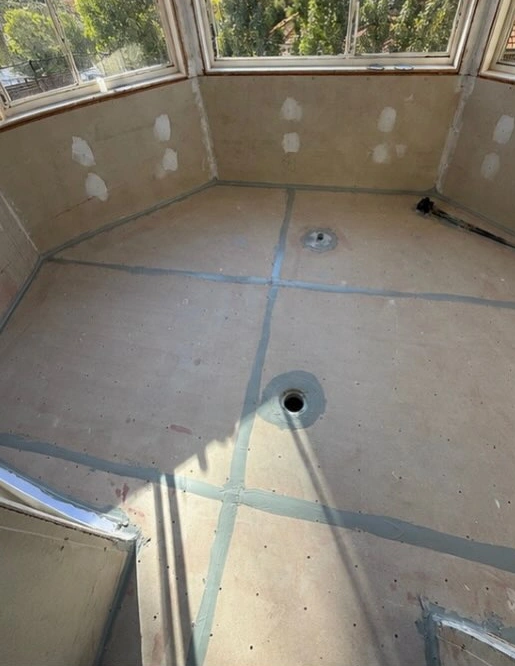
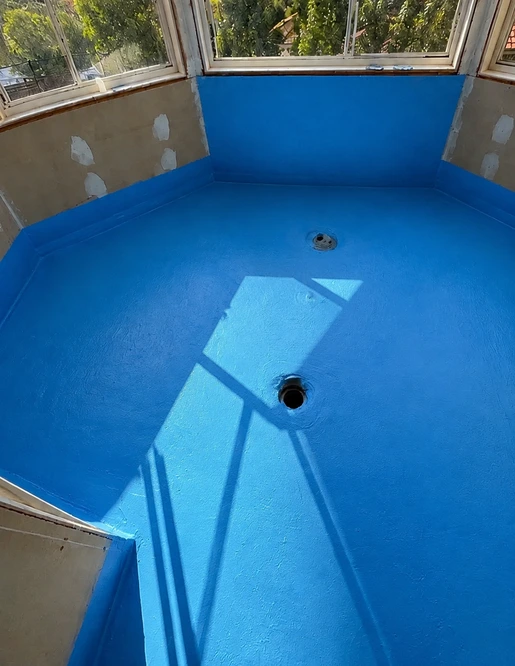
From prepared boards to a protected wet area.
Floor joints and penetrations prepared before the blue membrane is applied across the floor and wall junctions of this bay-window wet area.
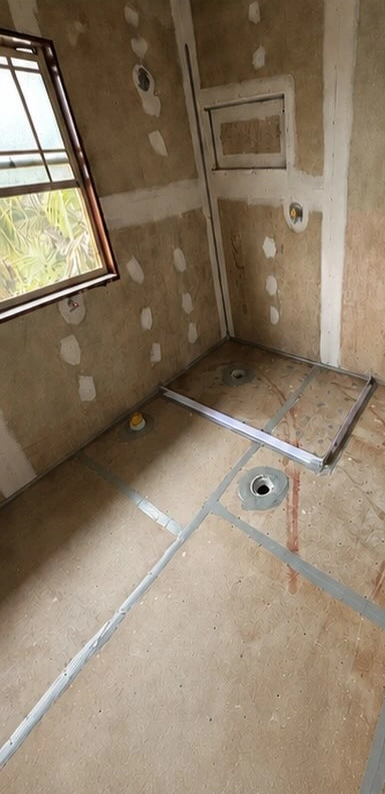
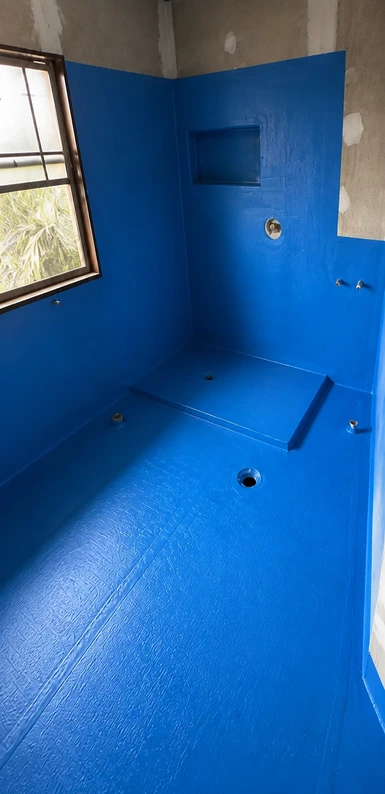
Every corner considered.
Membrane detailed across the shower base, recessed niche and surrounding wet-area surfaces. Careful preparation supports the finish that follows.
LET’S TALK ABOUT YOUR PROJECT
Contact Us
Tell us about the surface, the problem and your Sydney suburb. We’ll help you work out the next step.